The Faux Rag is complete ... at least my part. The home owner will now seal it with several coats of poly and it will be fabulous. If I do this for any future clients, this homeowner has agreed to partner with me and do the prep and finish ... how wonderful is that!!!????
I will post a final photo after they have it sealed, polished and the antique table and chairs are in place.
Hope you have enjoyed this glimpse of the hours that went into this project.
Subscribe to:
Post Comments (Atom)
Helpful Pet - what is your's up to?

POGO
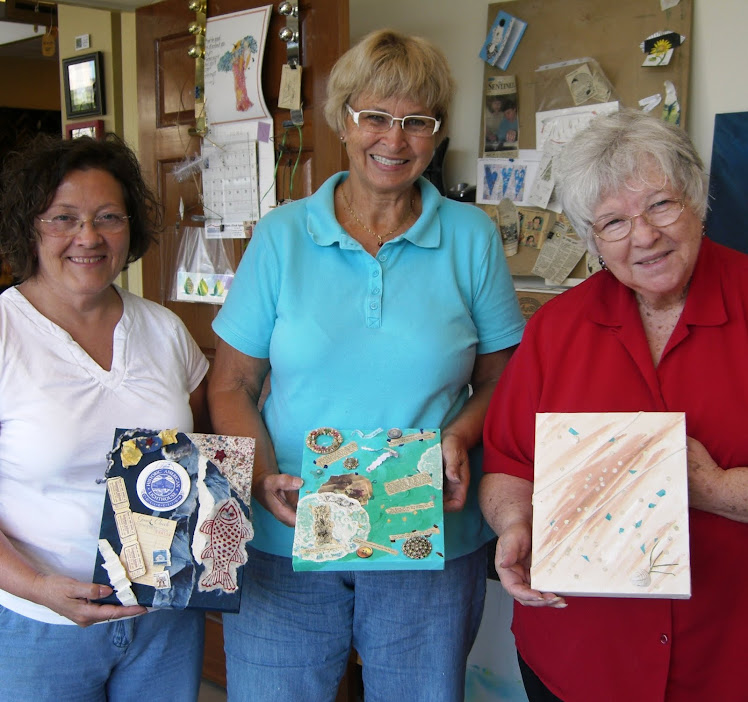
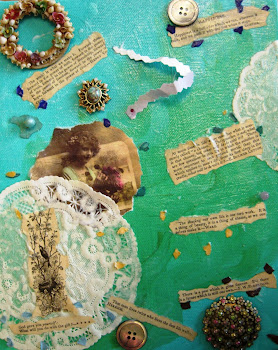
Mixed Media Class
Fun and projects!
Mixed Media Class

Muriel
Mixed Media Class

Peggy
Mixed Media Class
Nancy
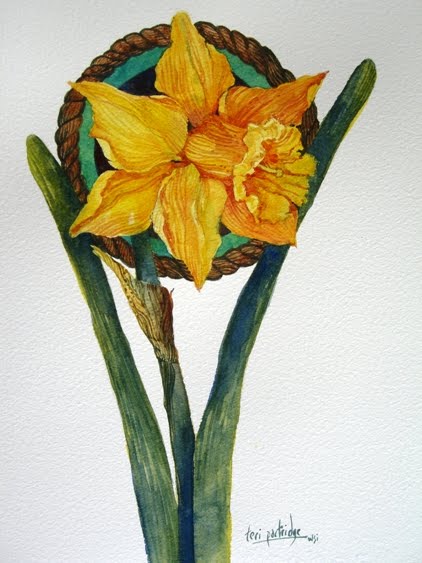
Poppies ....

ready for their new home!
Ta Da .....
this little gem is ready for blog preview and Etsy post tomorrow!
Ta - da!!!!

I can now walk away from the Easter Pear!!!
Easter Pear?

I like pears better than eggs!!!
Easter Pear Step 1

Step 1 - I thought this would be enough ... silly me!
Easter Pear Step 2

Step 2 - I wanted to add a bit of EGG Whimsy.
Easter Pear Step 3

Step 3 - It wouldn't be mine if there weren't any cast shadows.
Easter Pear Step 4

Step 4 - And I love a good implied table line ... don't you??
Easter Pear Step 5
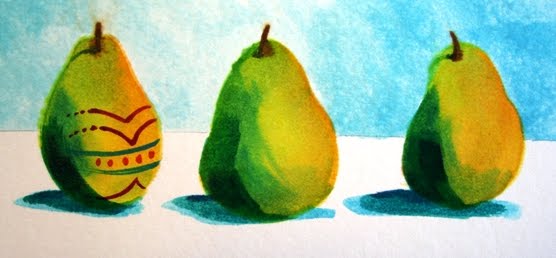
Step 5 - Oh, better kick up the value a bit!
Easter Pear Step 6

Step 6 - The background could use a value shift.
Easter Pear Step 7

Step 7 - Add, of course we need a bit of implied texture!
I can't wait!!!
ReplyDeleteThis has been fun to se the process.....obviously I won't be crawling on a florr any time soon, and I don't have a floor to try it on, but I would if I could!
Bravo Teri!!!
Well done!
XXOO!!
Anne
Just a quick note to tell you I have awarded your blog the Sunshine Award. So come by my blog to pick up the button. Congrats!
ReplyDeletePaula