Value! Light and dark! Everything with few exceptions, is affected by the light source shining on it and an artist must show that to the viewer with VALUE. Subtle variations from light to dark on the surface away from the light source. I refer to 10 as the darkest and 0 as the white of the paper. Practice a gradual change from dark to light (or light to dark) to master this technique and you will be comfortable using it more often.
I know this and a teach this (or harp on it) all the time, yet a day ago I posted a small watercolor and BOING! I had to head back to the studio to correct the whites and not so white areas. This is often referred to as a salvage technique.
I am going to post this because I also tell my students that we all should learn from our mistakes. I hope you can see the changes I made.
Try this on an older painting that you have around the "studio" and are not that pleased with and PHOTOGRAPH IT NOW. Mix up a thin, watery value of blue or violet (which ever cool color works with the painting) and glaze over the areas that should be "darker" and are AWAY from the light source. Brush stroke in the direction of the area you are glazing over (curve with the curves, etc)>
Now photograph the improved painting, send both images to me and I will post your work here.
Good luck and have fun!!
Subscribe to:
Post Comments (Atom)
Helpful Pet - what is your's up to?

POGO
Mixed Media Class
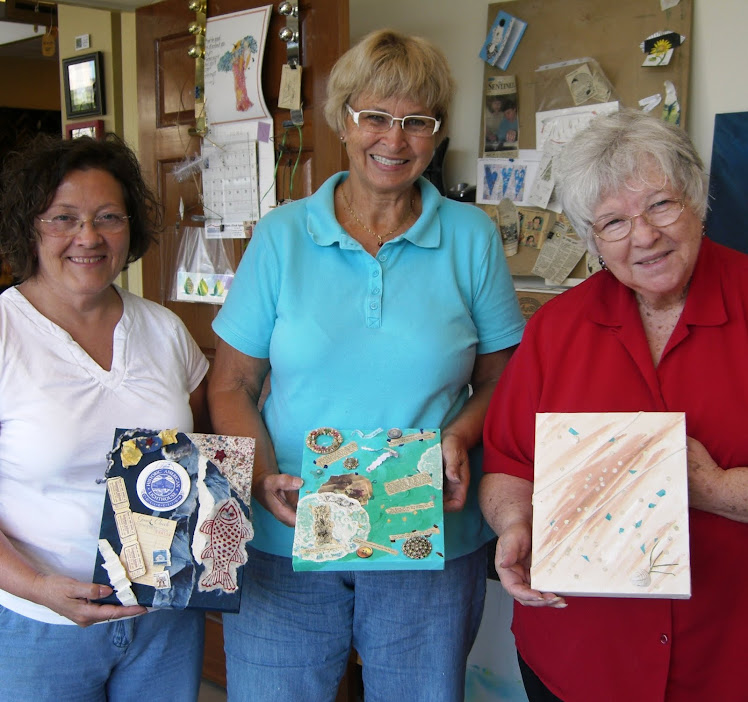
Fun and projects!
Mixed Media Class

Muriel
Mixed Media Class

Peggy
Mixed Media Class
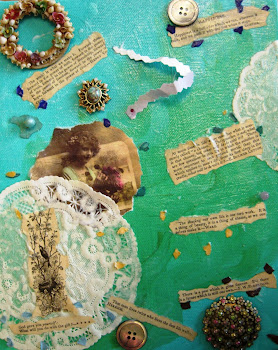
Nancy
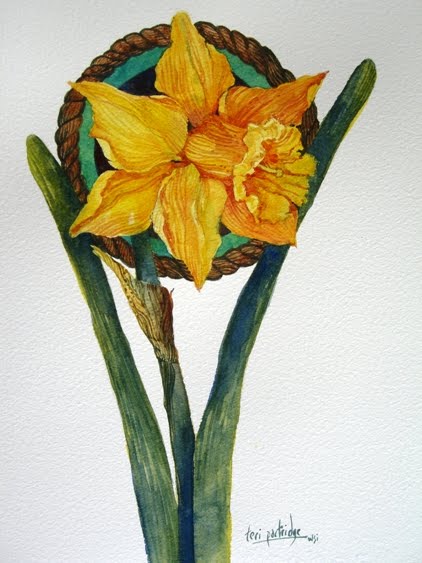
Poppies ....

ready for their new home!
Ta Da .....
this little gem is ready for blog preview and Etsy post tomorrow!
Ta - da!!!!

I can now walk away from the Easter Pear!!!
Easter Pear?

I like pears better than eggs!!!
Easter Pear Step 1

Step 1 - I thought this would be enough ... silly me!
Easter Pear Step 2

Step 2 - I wanted to add a bit of EGG Whimsy.
Easter Pear Step 3

Step 3 - It wouldn't be mine if there weren't any cast shadows.
Easter Pear Step 4

Step 4 - And I love a good implied table line ... don't you??
Easter Pear Step 5
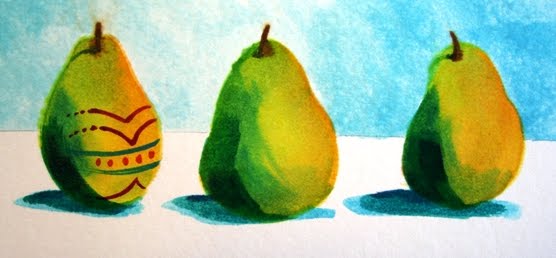
Step 5 - Oh, better kick up the value a bit!
Easter Pear Step 6

Step 6 - The background could use a value shift.
Easter Pear Step 7

Step 7 - Add, of course we need a bit of implied texture!
I had a great book on oil painting that broke everything down into grey values, which were painted first, then when dry, the proper color value was placed atop. It was an accurate and anal way of painting, but there were no value mistakes. Naturally, that doesn't work with watercolor, but it taught me a lot about the different values, what works and what doesn't. I wonder if I still have it???
ReplyDelete